


Planting hedging is simple and easy with the right tools & knowledge.
When Do I Plant Hedging?
December - January - February
| Time To Plant? - Yes/No
In the coldest months you are able to plant deciduous hedges however as the ground is cold and hard, it does not make it easy for young or old evergreen hedges to establish.
March - April - May
| Time To Plant? - Yes
Spring is a good time to plant however be careful of the upcoming hotter months on younger hedging.
June - July - August
| Time To Plant? - No
In our expert opinion hotter months can lead to heat scorched plants & more watering is needed to help young hedges survive.
September - October - November
| Time To Plant? - Yes (Best time)
The best time to plant is always those months where soil is kept moist by wet weather. Going into the winter months the hedging is able to establish roots and form a good base for next year.
To Plant Hedging You will need:
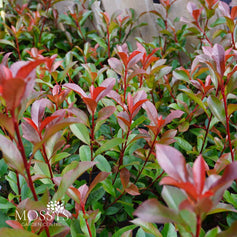
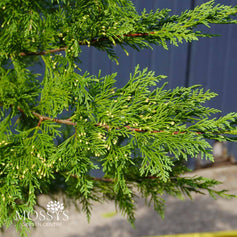
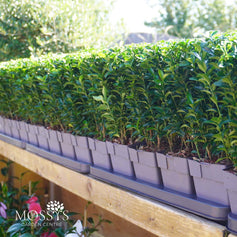
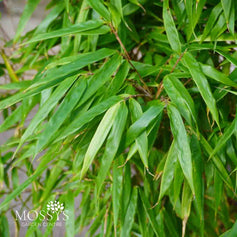
- Hedging Plants
- Shovel
- Watering Can/Hose
- Multi-Purpose Compost (Optional)
- Multi-Purpose liquid/granulated feed (Optional)
How to plant potted/pot grown hedging:
1.Prep The Area You Wish To Plant Hedging.
Prepping the area is just as important as planting correctly. Ensure you remove all weeds and vegetation around the area you wish to plant. This makes sure that you have no invasive weeds taking up vital nutrients & water for your hedging to grow.
2.Determine How Far Apart To Plant Your Hedging.
Use this handy guide to help determine how far apart you need to plant your hedging:
| Plant height | Planting Width |
| 1-2ft (30-60cm) | 1ft (30cm) |
| 2-3ft (60-91cm) | 1.5-2ft (45-60cm) |
| 3-4ft (91-121cm) | 2-2.5ft (60cm-76cm) |
3.Dig The Depth Of Your Roots To Place Your Plants In.
When planting pot grown or potted hedging, you may dig holes the size of or just larger than the dirt which the hedging has rooted in. Ensure your hole is not too deep as planting your hedging too deep can be detrimental to their survival as the roots can rot.
Tip: Keen gardeners can dig the hole slightly larger than the hedging plant and first fill the ground with compost or mulch to allow for a quicker establishment of your hedging plants.
_
4.Firmly Place Hedging Plants In The Ground & Cover The Root Collar With Soil.
Place your hedging in the hole & cover over with soil making sure to push down firmly.
Tip: Using your thumb and forefinger, it should be difficult to pull newly planted hedging out._
5.Water & Feed Your Newly Placed Hedging
After planting your new hedging, give them a sprinkle granulated multi-purpose feed or liquid feed & allow to soak in.
Tip: Do not water directly onto the foliage of any of your hedging. Instead water around the base to ensure your plants can soak up 100% of the water & feed you have provided.
Hedging Aftercare:
Do not let the soil dry out at all in the first 12 months. Even if the plants appear dormant, the roots will be starting to grow under the ground. It is better to soak the soil twice a week than it is to sprinkle it with water every day.
Within 12-18 months of planting you should start to see the results of your hard work paying off!


